I’ve been using my salvaged Canon Pixma MX340 multi-function inkjet control panel as test target hardware for learning CircuitPython. After exposing a keyboard event queue, my first attempt at a CircuitPython library is now feature-complete. Well, it is on the software side. The hardware side still need help but I’ve recently learned it is a problem I can solve by spending money.

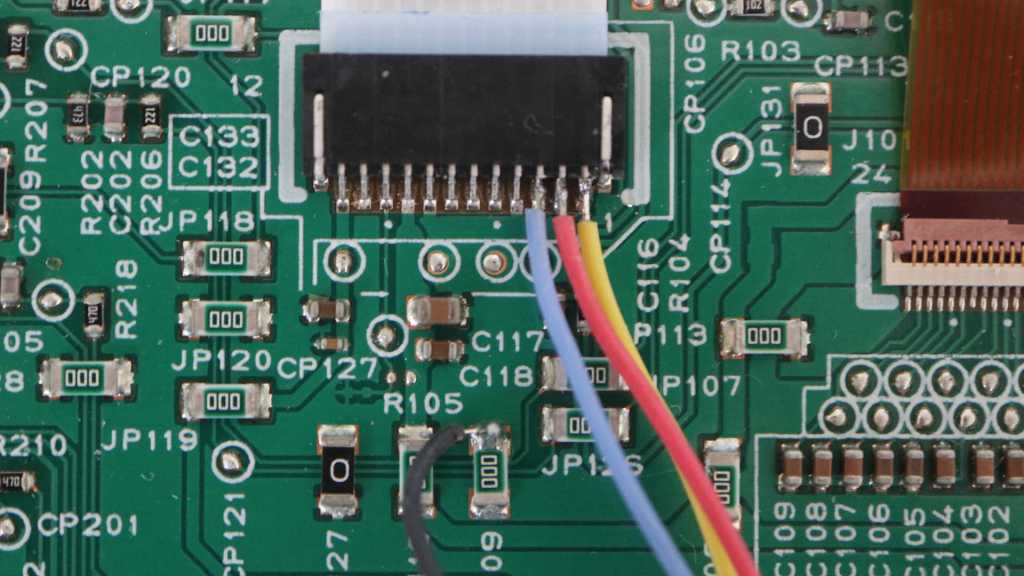
Up until this point, I had been exploring control panel communications by soldering wires to the back side of its FPC (flexible printed circuit) cable connector. This was essential because I still need the cable installed for main logic board and control panel to talk to each other. Now that I have a code library to let any CircuitPython microcontroller take the place of the main logic board, it means I can actually use my own cable and avoid the need to solder any more wires to these pins.
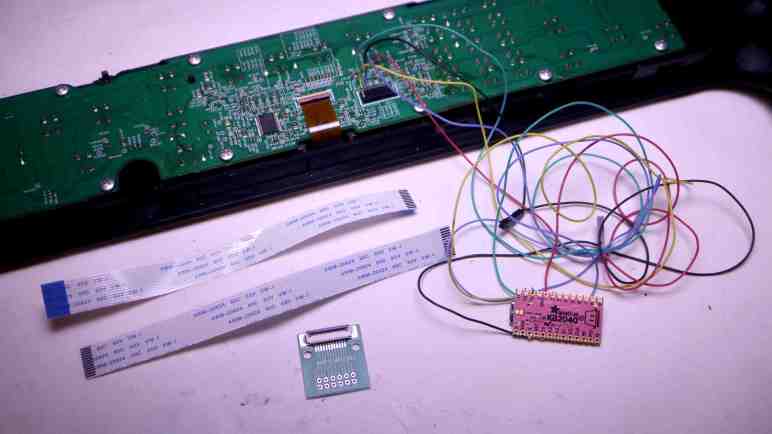
There are vendors on Amazon selling breakout boards for popular FPC sizes, so I searched for 12-pin 1.0mm pitch FPC connector breakout to see my options. Some of these listings were for a bare circuit board, so I picked this one (*) as it had the connector already soldered and its output pins were spaced out in a prototype board friendly 0.1″/2.54mm pitch format. Those output pins were also already numbered, which I wanted even though it made the next step a bit harder.
I then searched for a short piece of FPC I can use to connect my salvaged control panel with the breakout board. There were again multiple vendors offering 1.0mm pitch 12-position cables, with 150mm being a popular length. I just had to choose if I wanted “A-type” (*) with metal contacts on the same side of the ribbon on both ends, or if I wanted “B-type” (*) with metal contacts on opposite sides of the ribbon. And here I got stuck. I didn’t know which side the breakout board’s connectors made their metal connections. If I chose wrong, I could flip the board over to make the connection, but that would mean the pin numbers would become reversed. That is a recipe for confusion and potentially project-killing mistakes. After waffling back and forth for a while, I decided on the solution of buying both sets. I felt spending a few extra dollars was worth the guarantee of consistent pin numbers.
Once the products arrived, a little probing indicated A-type was the correct answer for me to wire up a Raspberry Pi Pico microcontroller board.
(*) Disclosure: As an Amazon Associate I earn from qualifying purchases.
