Gigabyte Z270N-WiFi and its F1 Firmware

When I embarked on the Luggable PC project, the primary goal was to build a computer using components I already had on hand. This translated into the requirement to accommodate full-sized desktop PC components. Now that I’ve used it for a while and started to like carrying my full-time computer around, I’m building up for an upgrade. This time, instead of building a chassis around components I already had, I will buy smaller components with the intent of assembling a new luggable chassis.

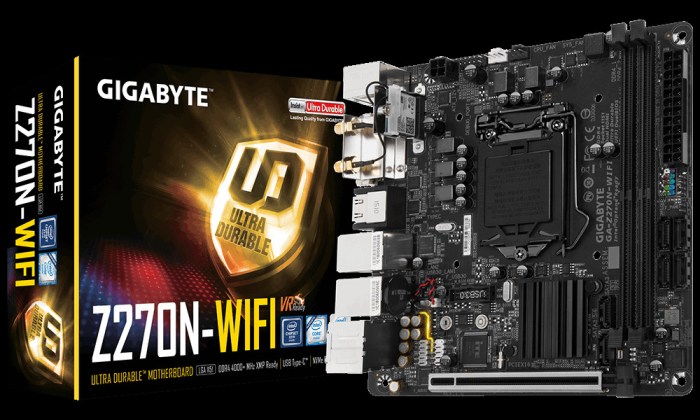
First up: The motherboard. Out of all the commodity form factors, the best balance of small size, computation power, and reasonable price is the Mini-ITX form factor. I’ve already worked with a few boards of that form factor, but none with leading edge components. This changes with the purchase of a Gigabyte Z270N-WiFi.

GigabyteZ270N-WiFi
Image by Gigabyte

The specifications of the motherboard looked great on paper. In additional to the small Mini-ITX form factor, the features important to my project are:

  • Support for Intel’s latest Kaby Lake generation of processors
  • M.2 slot for SSD
  • PCIe x16 slot for full-power GPU
  • Wireless networking

Factors that were not critical, but used as tie-breakers against its competition:

  • Dual-port Intel gigabit wired Ethernet
  • 6 SATA ports
  • USB-C port
  • Bluetooth

Looks great on paper! Sadly in reality the motherboard made a very poor first impression due to the onboard firmware. It was heavy on flashy looks and light on usefulness. I ran into many problems with basic functionality.

Example 1: The USB mouse support was useless: I could move the cursor around with the mouse, but clicking has no effect.

Example 2: Upon startup, it shows a full-screen Gigabyte logo (basically an advertisement) that I find annoying. If I select the firmware option to disable the logo, the motherboard no longer boots: I have to reset the firmware settings via jumper to get back to square 1. This was such an unexpected thing that it took three resets before I determined it was the logo setting that caused the problem.

So the “F1” version of the motherboard firmware was a disaster. Fortunately by the time I bought the board, Gigabyte has released updates and is currently on “F4”. Upgrading allowed me to disable the Gigabyte advertisement and still have a functional computer, in addition to addressing other functional annoyances.

This motherboard was clearly pushed out the door with incomplete firmware and the expectation on users to upgrade. I now have a good motherboard, but there’s a sour taste in my mouth from the bad out-of-box experience.

Fusion 360 vs. Onshape: Raspberry Pi

raspberry-pi-logoAnd now for something completely silly: let’s look at how our two competing hobbyist-friendly CAD offerings fare on the hobbyist-friendly single-board computer, the Raspberry Pi.

(Spoiler: both failed.)

Raspberry Pi

I have on hand the Raspberry Pi 3 Model B. Featuring a far more powerful CPU than the original Pi which finally made the platform usable for basic computing tasks.

When the Raspberry Pi foundation updated its Raspbian operating system with PIXEL, they switched the default web browser from Epiphany to Chromium, the open-source fork of Google’s Chrome browser. Bringing in a mainstream HTML engine resulted in far superior compatibility with a wider range of web sites, supporting many of the latest web standards, including WebGL which is what we’ll be playing with today.

Autodesk Fusion 360

Fusion 360 is a native desktop application compiled for Windows and MacOS, so we obviously couldn’t run that on the Pi. However, there is a web component: Fusion 360 projects can be shared on the Autodesk 360 collaboration service. From there, the CAD model can be viewed in a web browser via WebGL on non-Windows/MacOS platforms.

While such files can be viewed on a desktop machine running Ubuntu and Chromium, a Raspberry Pi 3 running Chromium is not up to the task. Only about half of the menu bar and navigation controls are rendered correctly, and in the area of the screen where the actual model data should be, we get only a few nonsensical rectangles.

Onshape

Before this experiment I had occasionally worked on my Onshape projects on my desktop running Ubuntu and Chromium, so I had thought the web-based Onshape would have an advantage in Raspberry Pi Chromium. It did, just not usefully so.

In contrast to A360’s partial menu UI rendering, all of Onshape’s menu UI elements rendered correctly. Unfortunately, the actual CAD model is absent in the Raspberry Pi Chromium environment as well. We get the “Loading…” circle and it was never replaced by the CAD model.

Conclusion

Sorry, everyone, you can’t build a web-based CAD workstation with a $35 Raspberry Pi 3.

You can, however, use these WebGL sites as a stress test of the Raspberry Pi. I had three different ways of powering my Pi and this experiment proved enlightening.

  1. A Belkin-branded 12V to 5V USB power adapter: This one delivered good steady voltage at light load, but when the workload spiked to 100% the voltage dropped low enough for the Pi to brown out and reset.
  2. A cheap Harbor Freight 12V to 5V USB adapter: This one never delivered good voltage. Even at light load, the Pi would occasionally flash the low-voltage warning icon, but never low enough to trigger a reboot. When the workload spiked to 100%, the voltage is still poor but also never dropped enough to trigger a reset. Hurray for consistent mediocrity!
  3. An wall outlet AC to 5V DC power unit (specifically advertised to support the Raspberry Pi) worked as advertised – no low-voltage warnings and no resets.