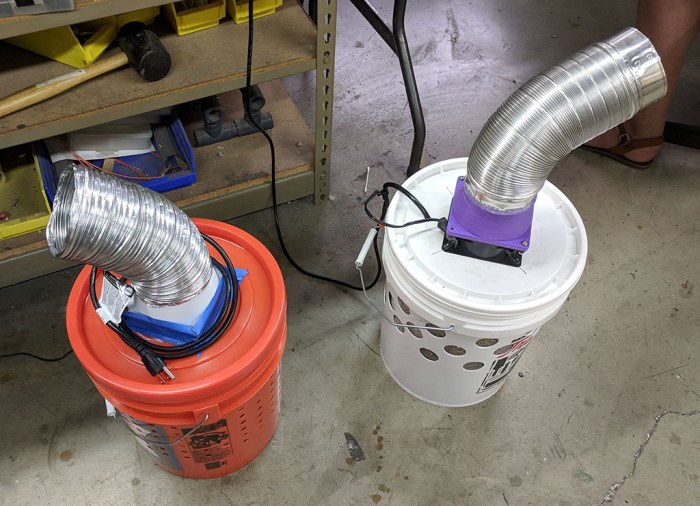
When my orange Home Depot bucket DIY swamp cooler started running, the stream of cool air blasting on my face was a very refreshing change from the oppressive heat of this southern California summer. However, this crude home-built unit does have some room for improvement, and I brought it into a local maker meet to seek ideas. Here it is at the meet sitting next to its inspiration, an earlier unit built out of a TrueValue white bucket.
First problem: the cooling pad imparts a scent on the air stream. It’s not a bad smell – I describe it as bales of hay – but it gets pretty strong as the cooler runs. There’s a chance this will fade with use, but right now it definitely gets strong enough to be a turnoff. Especially when I am smelling it all the time.
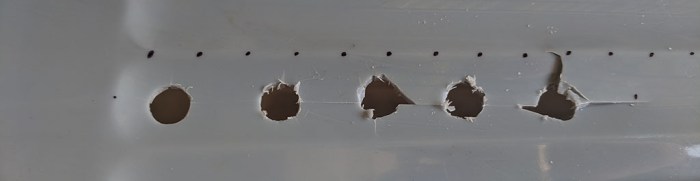
Not helping with the above problem: water cycling through the unit sometimes drips out of holes. On solid surfaces, this collects as a puddle and has to be wiped up. But on carpeted surfaces if unchecked this water will soak into the carpet and underlying padding, making the room smell like bales of hay even in the absence of the cooler.
Also not helping: when transporting the cooler (like, say, to the maker meet) water may slosh out of the side. If this water soaks into the car’s upholstery, the car will start to smell like hay, too.
An idea to address dripping is to put a fine mesh between the bucket and the pad, such as the one installed on the white unit. This reduces but does not completely eliminate the water issue. A second potential line of defense is to build some sort of small catch gutter around bucket perimeter to catch and drain water back into the bucket. A small catch rim would be enough to handle small drips.
Lastly, the rate of evaporation isn’t high enough to require a constantly running pump. For better energy efficiency, the pump only needs to run intermittently, but that requires smarts and control equipment absent from this bargain-basement build.
This was an instructive (and cheap) first attempt at a home-built swamp cooler. There may be an improved iteration in the future, but for now it works well enough.