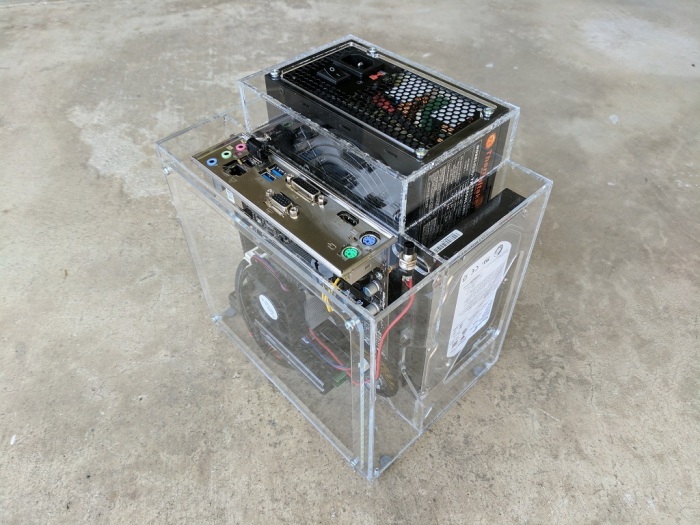
After spending an afternoon + evening at a Tux-Lab work session, I have my FreeNAS Box v2! It’s always fun to see my idea turned into reality.

The first thing I appreciated was the fact that the components are clearly visible through the acrylic panels. And even better, the messy tangle of wires are hidden behind them. This reversal from v1 is the best aesthetic change.
The other major design requirement – that both cooling fans be visibly spinning – is also present but it doesn’t have as much of an immediate aesthetic effect.
After I’ve kept it on and running overnight, I checked the temperature around the box the following morning. I think it would be neat to check thermal performance with a FLIR thermal imaging camera but lacking such toys I went with the low-tech way of putting my hands at various places around the box to feel the temperature.
The front chamber – where the CPU and motherboard reside – has a slight temperature gradient from top to bottom but overall it was relatively cool to the touch. This was expected as the CPU basically sat idle all night. It also means I won’t need to cut a hole in the front door for a direct air intake.
The rear chamber, with the power supply and both hard drives, is where most of the heat is generated. The two drives were warm to the touch signifying that they’ve been spinning all night and getting some amount of cooling to keep them from getting hot.
The power supply fan was running and the power supply case was cool to the touch. The power meter read 30W for the FreeNAS box in this steady-state idle state. This is a very light load for a 600W-rated power supply, reflected in its cool running temperature.