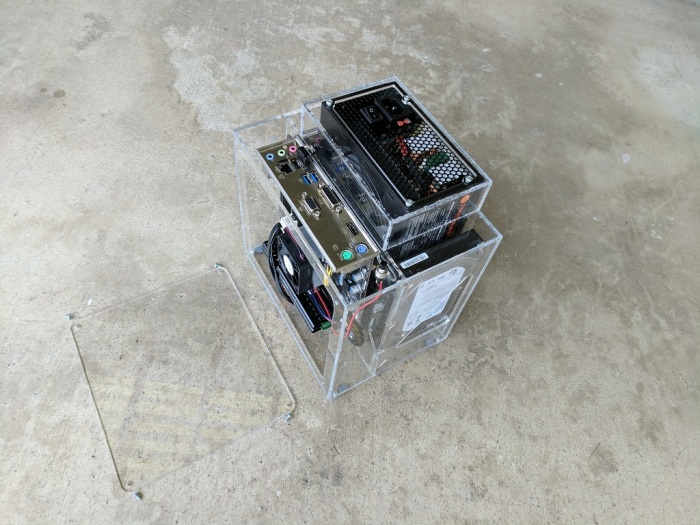
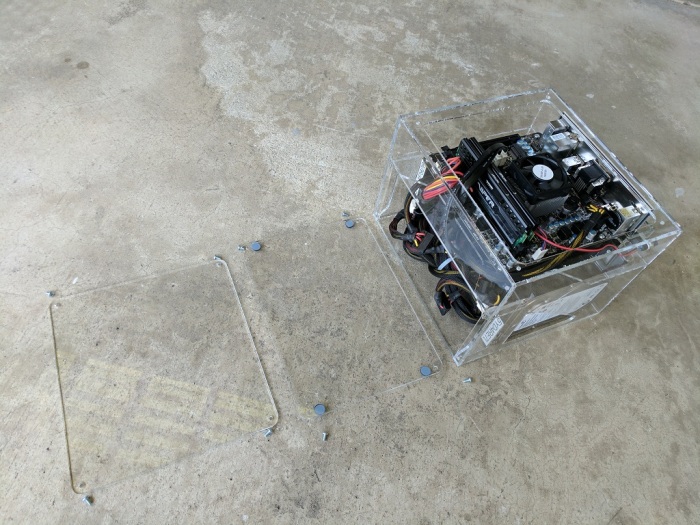
One aspect that was completely neglected in v1 was any kind of an access door. The panels were designed only enough for them to mesh, so the only way to hold things together is to glue everything shut. Completely impractical! The only way to perform any maintenance would be to shatter some acrylic to break the case open.
Now we have two access panels, one in the front and one on the bottom. I tried to see if I could somehow integrate things so there would only need to be one access panel, but never came up with a design that would work well while simultaneously satisfying all the other design goals I’m trying to accomplish.
Each access panel is held in by 4 x #6-32 screws, the standard desktop PC case screw. They fasten into threads I had tapped into the underlying layer of plastic. I should use heat-set inserts for better durability. Unfortunately I didn’t have #6-32 inserts on hand at the time and I thought I would probably build a V3 follow-up anyway.

The front panel opens to allow access to the front chamber where the motherboard and CPU lives. If I wanted to upgrade the memory or switch out the SATA cables, I could do so through the front panel opening.
The bottom panel opens to allow access to the rear chamber. The two hard drives and the power supply are all installed through the bottom opening. The drives can be individually replaced without fighting through too many pieces of cable. The power supply can also be replaced through the opening exposed by the bottom panel.
