Looking at what other Sawppy builders have done to customize their own rovers, I learned that ground clearance isn’t as valued as I thought it would be. At first I was disappointed, because giving Sawppy great ground clearance took a lot of hard work. But then I decided to look on the positive side, because this feedback also meant I could trade off some clearance for other features and not have it be considered an instant fail.
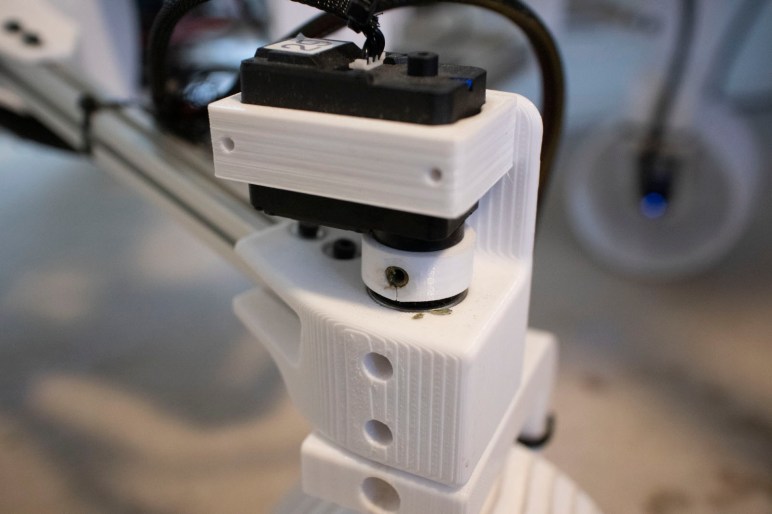
Another common theme of feedback on Sawppy wheels concern shaft coupling and heat-set inserts. It has been a perpetual problem for me, to the point where I started preparing field replacement units of shaft couplers. I also heard from other Sawppy builders that it has been problematic for them as well.
The biggest problem was caused by my ignorance: I thought all M3 inserts would be the same size, but I was wrong. Inside, yes, but not outside. Furthermore, optimal heat set inserts usage require hole diameter within a pretty narrow range. And that range appears to be narrower than the range of variation between 3D printers. All this meant my Sawppy design printed as-is would frequently not work for another rover builder and require modification. Either their insert is a different diameter, or their printer would print differently, or some combination of both.
Some builders applied their creativity to this problem and came up with alternate approaches. Chris Bond went with the direct approach: drilling and tapping a hole through the diameter of the shaft. This is a good option if a vise and drill press is available, but drilling on a round shape is very challenging with handheld tools.

TeamSG for Aussie Sawppy explored another route: instead of round shafts, use hex profile shafts. I knew precision shaped profile beams of metal are expensive and difficult to get, so I didn’t think it was a good idea. But TeamSG thought of something I did not: Hex profile wrenches are plentiful, precise, and made of strong metals. Cutting up a few is a brilliant approach to build some rover hex drives!

Laura McKeegan’s CJ rover offered yet another approach: use captive hex nuts which worked when heat-set inserts did not. Unlike heat-set inserts, M3 hex nuts are standardized with an external diameter of 5.5mm from flat to flat.
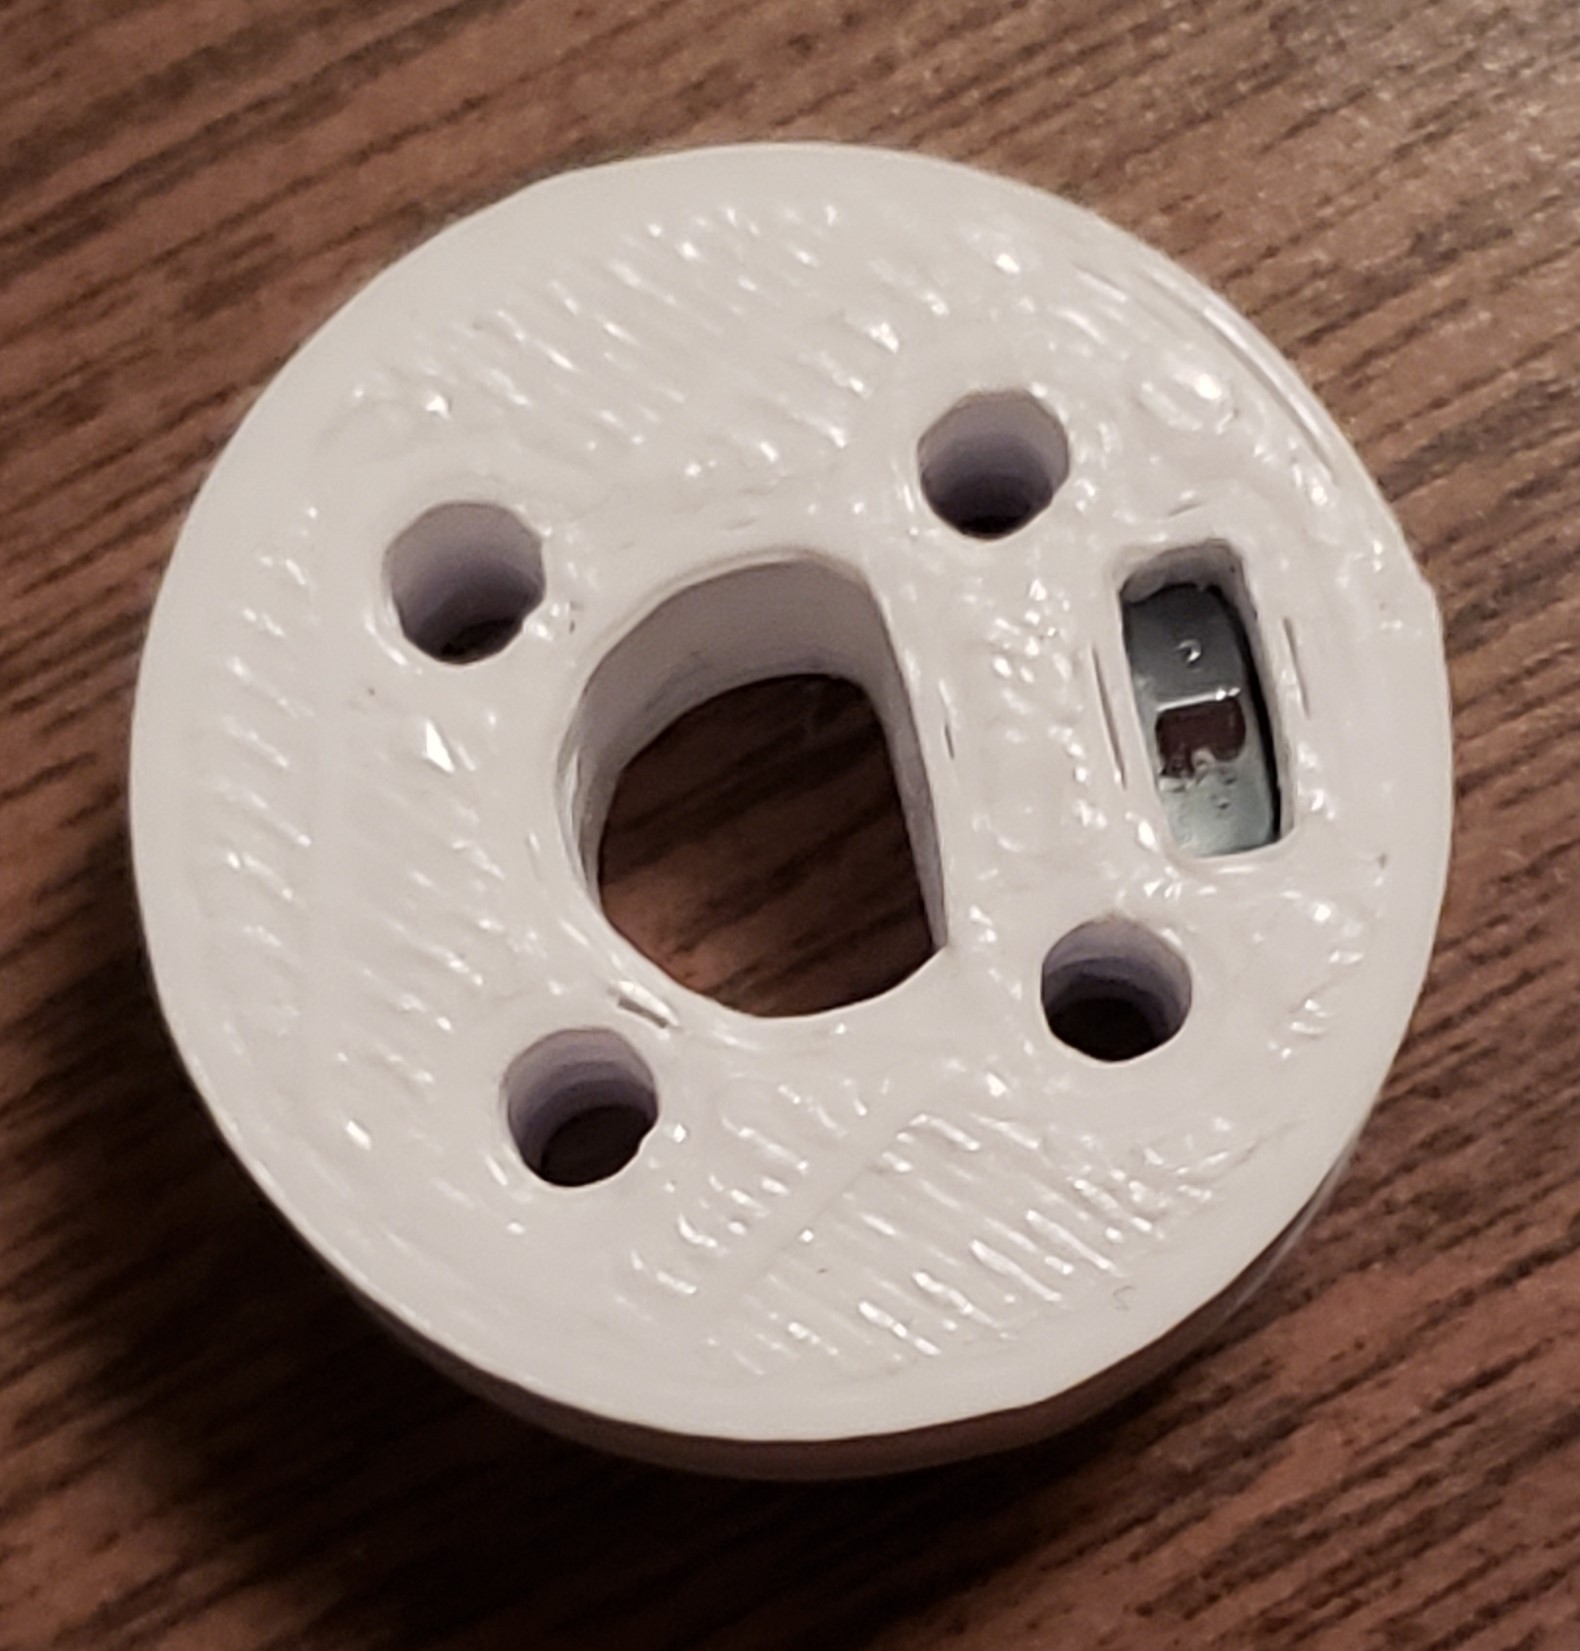
My own experiments with captive nuts have not been successful, because if I put too much force my nuts will start spinning inside their slot. To fix this, I would heat it up with my soldering iron and turn it into a crude heat-set insert. So I thought I’d just go straight to heat-set inserts. But given feedback from builders and knowing what I know now about non-uniformity of M3 heat set inserts, I think captive nuts might be worth another look.
And while I’m working on solutions for Sawppy’s shaft coupler problems, it’s worth noting that the shaft themselves have been problematic as well.

I’ve gotta say “First!” on this hex thing lol. Also I’m surprised at how easy it is to get aluminum hex bar on ebay.
Here is the required qty from v1.10 of my BOM (which I just realize I haven’t posted, talk about bad documentation):
Aluminum Hexagon Bar – 5/8″ / 16mm 6061-T6 Aluminum – (mm, inches, qty):
640 25.20 2 – Differential Rod
216 8.50 6 – Axle Stock
230 9.06 4 – Steering Axle Stock (~9″ to reach into the steering lockouts)
LikeLiked by 1 person
You can certainly claim first on using hex bars, but sadly not every country has well stocked local eBay inventory. The credit to Aussie Sawppy team was for their idea of using hex wrench as metal shafts, addressing the availability challenge: metric hex wrenches easily found worldwide.
LikeLike