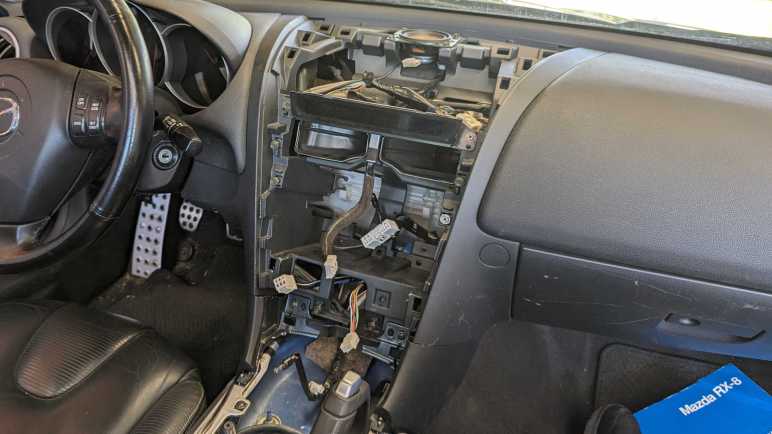
Once I disassembled the navigation hood of my 2004 Mazda RX-8, I discovered the wireless CarPlay/Android Auto receiver I wanted to install would not fit. It’s a few millimeters wider than the existing navigation screen and the bezel had no room to spare. I would have to cut something to make everything fit. Between the cheap device I could easily replace with another Amazon order versus Mazda interior trim piece, I prefer to cut the cheap device. I will take the receiver apart to look inside. Since I’m just scouting for trimming potential, this is not a full teardown.
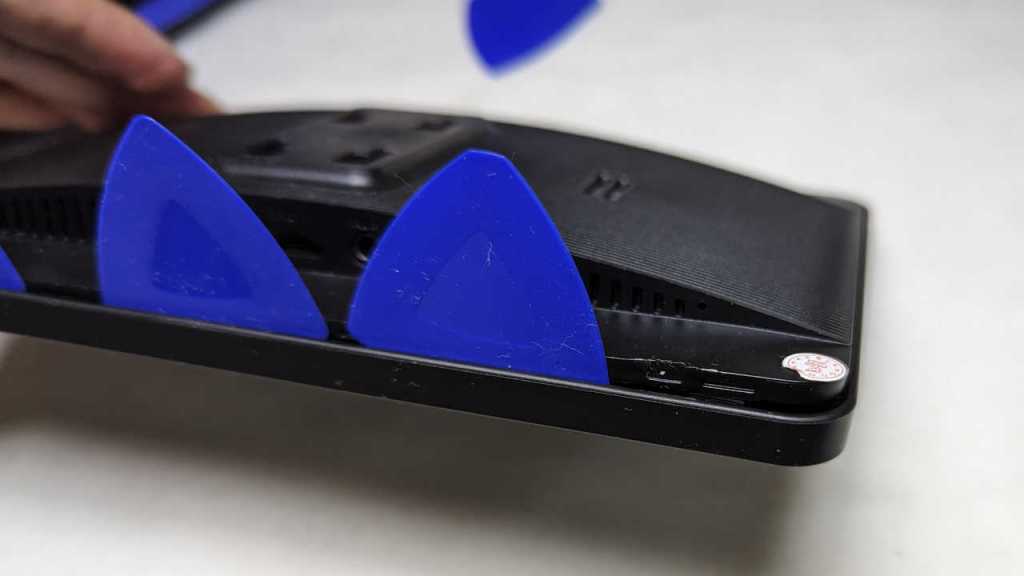
Its enclosure was held with just clips, no fasteners. It was a matter of jamming enough opening picks into the gap to release a row of clips on one edge. Once that’s accomplished, remaining clips released easily.
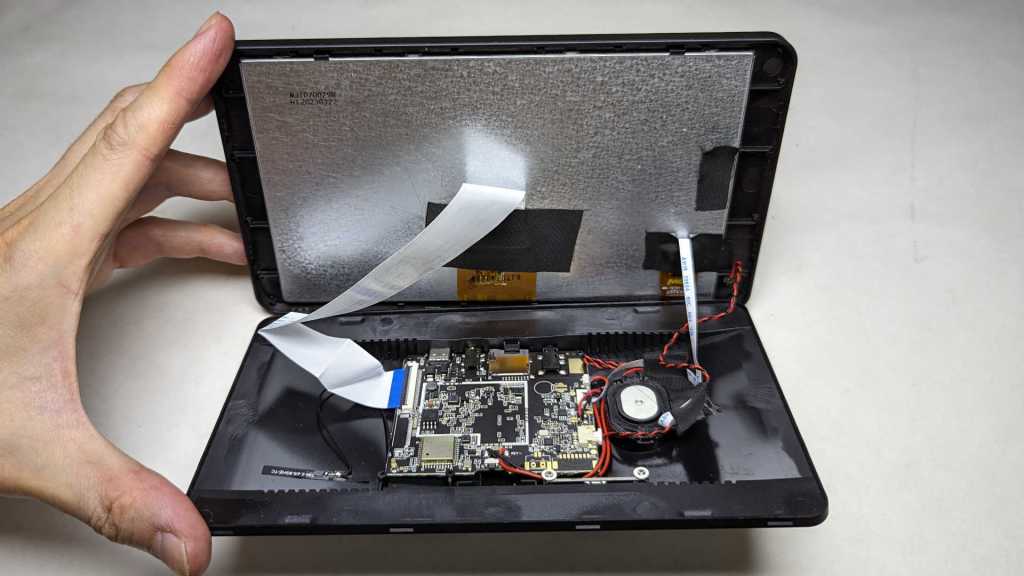
It’s pretty minimalist inside, as fitting for a low cost device. Just a single main circuit board, the screen, and a few supporting components.

I had half expected a PCB antenna, but happy to see a short little thing glued to the case and attached to the circuit board with a removable connector. This potentially give me more options. Either in relocating this antenna elsewhere or replacing it with a different antenna in the hopes of improving reception. I will use this one as-is until I have a reason to tinker.
Looking at this antenna, I felt something was wrong and it took a few seconds of thought to realize what: when I look at similar antenna during computer teardowns, they’re always carefully placed outside of metal RF shielding. This device appears to have no metal shielding at all. In fact, now that I am looking for them, I noticed there were no label for make and model number and, most important for this discussion, no FCC ID listed. Is this thing even legal?
On the upside, the lack of metal shielding meant it’ll be easier to cut this enclosure backside to any shape I need to mount it in my navigation hood. And the lack of components meant I won’t damage anything on the way.
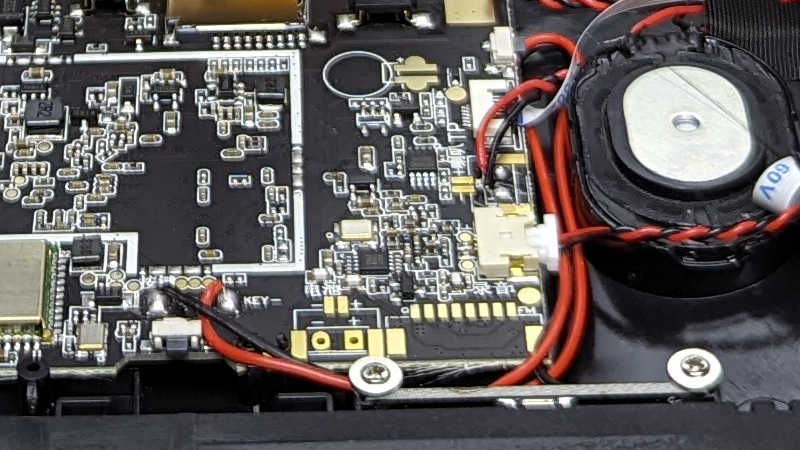
I saw quite a few unused provisions on this circuit board. The terminals labeled “-” and “+” are apparently provisions for a battery. I’ll be running this on car power so I don’t care. More interesting to me are two surface mount buttons that are not accessible when this unit is closed up. What are they for?
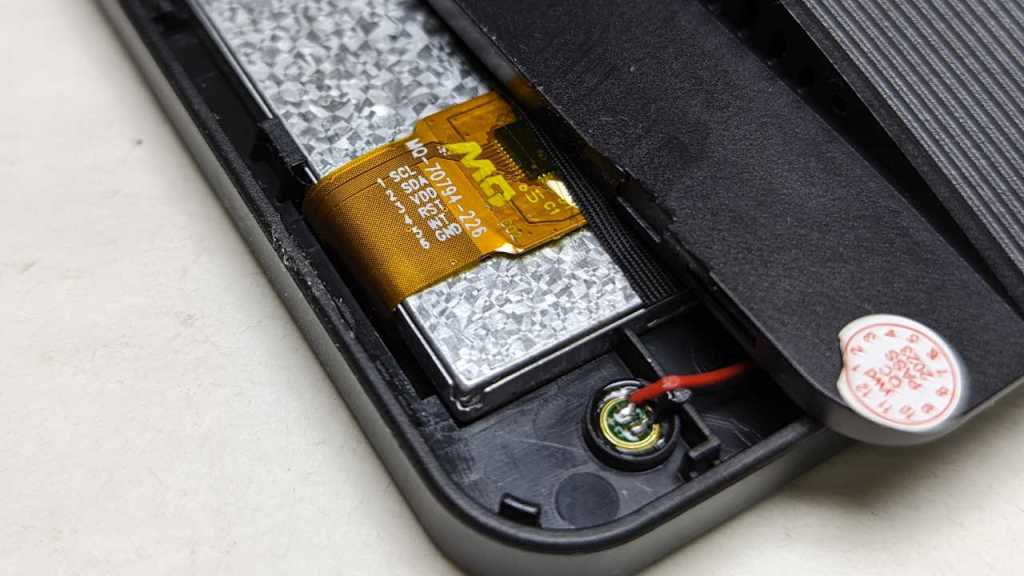
Down in one corner I see the embedded microphone and, a few centimeters away, a cable leading to the screen. I thought this might be backlight power, but terminals labeled with I2C style “SCL” and “SDA” tells me this is more than just supplying light. This is probably the capacitive touch controller.
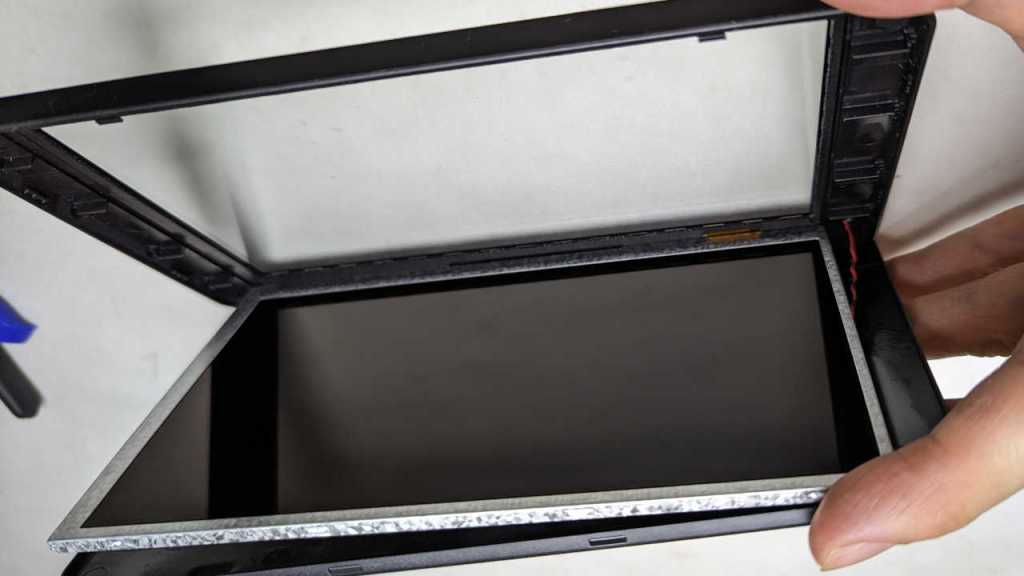
Flipping the screen open, I could confirm it is indeed the touch controller. The good news is that capacitive touch digitizer is roughly the same size as the LCD, so they’re safely out of the way from trimming operations. The bad news is the front of this unit is a single sheet of glass bonded to the front of this enclosure. Given the price point I had expected a sheet of clear plastic, but it’s glass.
The only method I have of cutting glass is the “scratch a line and bend” method. I don’t have a handy diamond to scratch glass, though maybe one of my carbide tipped cutting tools can do it. More problematic is the bonded piece of plastic which makes the “and bend” part very difficult to do neatly. I’d likely shatter something else in the process.
Looking at this situation, I decided I couldn’t avoid cutting into Mazda interior trim piece. But I’ll try to minimize the damage. On the device side, I’ll cut away as much of the plastic as I could. Whatever is left (the glass and its plastic backing) will need only a narrow slot to slide in sideways.