 Spotting scopes sold for bird watchers and rifle marksmen can be quite inexpensive compared to serious camera lenses of similar zoom capability. I knew there was a difference in the picture quality but wanted to try it first hand.
Since the picture is zoomed in so far, any physical movement is greatly magnified in the image. Which meant simply holding the webcam up against the eyepiece by hand just resulted in many blurry pictures. Taping them to each other wasn’t good enough – the small movement allowed by tape was enough to distort the picture. What I needed was a solid adapter to hold them against each other.
3D printer to the rescue!
The scope eyepiece unscrews easily, which makes for a convenient mounting point for a 3D printed bracket. The webcam is then attached to the bracket by means of a ring matching the diameter of the webcam. I didn’t want to spend too much time on fancy fastening designs on the first draft, intending to use tape. As it turned out friction was enough to hold everything together well enough for a quick experiment.

Results of the experiment: you get what you paid for. The image quality of a cheap webcam looking through a cheap scope was barely legible. I don’t intend to put more money into this investigation, so I’m unlikely to upgrade to better scopes. What I do have, though, are some better cameras which might be worth experimenting down the line.
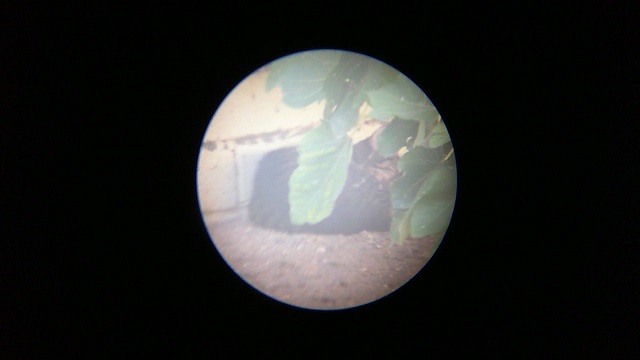
One problem that I should have foreseen was the very incompatible fields of view of the two instruments. A webcam is designed to capture a very wide field of view, because during video chats the face is very close to the webcam. A spotting scope is just the opposite – it has a narrow field of view of a very distant object. When I put them together, what I get is the narrow scope view in the middle of a big wide field of black.
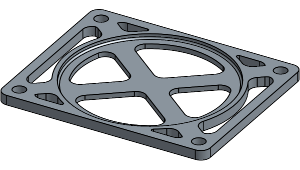
 Nowadays people are familiar with recycling. But some people forget recycling is only the third alternative in “reduce, reuse, recycle.” The goal of this project is to reuse small glass jars instead of tossing them into glass recycle.
 All modern garage door openers have a safety feature: a small light beam to detect objects that might be in the way. Most of the time this feature is unobtrusive working in the background for my safety.
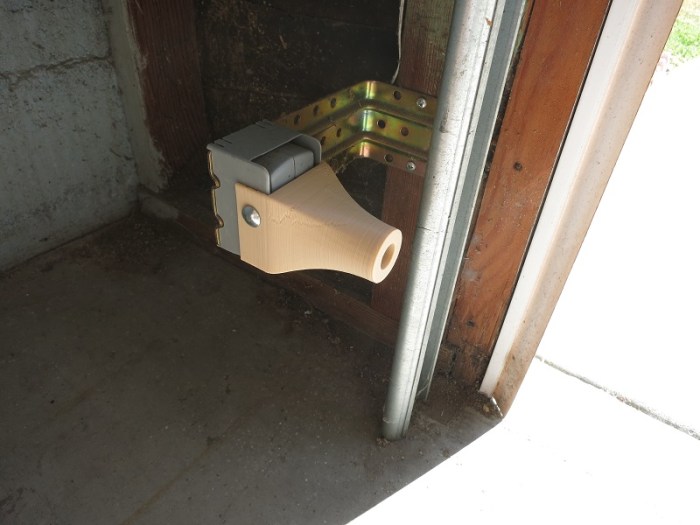
 The “Duck light” project earlier was a lot of fun, crafting an object to be lit with a little LED tea light. I liked the result so much I kept it lit around the clock, which led to the obvious next problem: battery life.
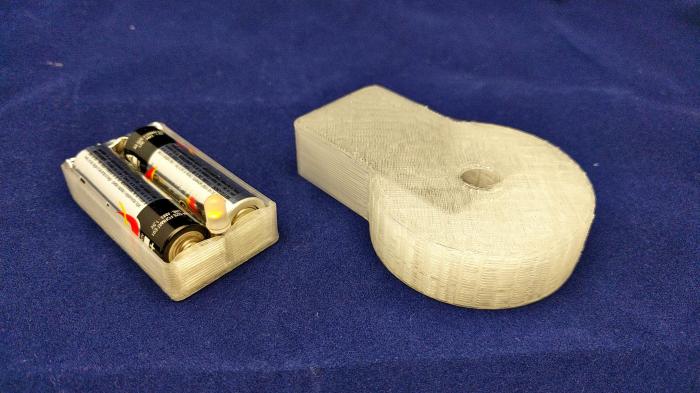
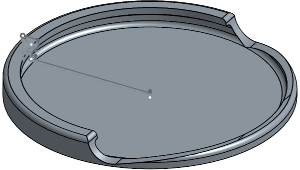
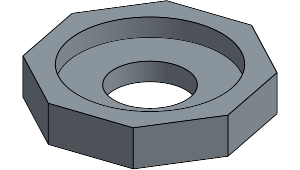
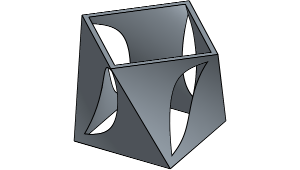 Further exploring Onshape’s geometry tools, I started playing with the loft command. This command allows me to select two 2D shapes and Onshape will calculate a volume that spans the two shapes.
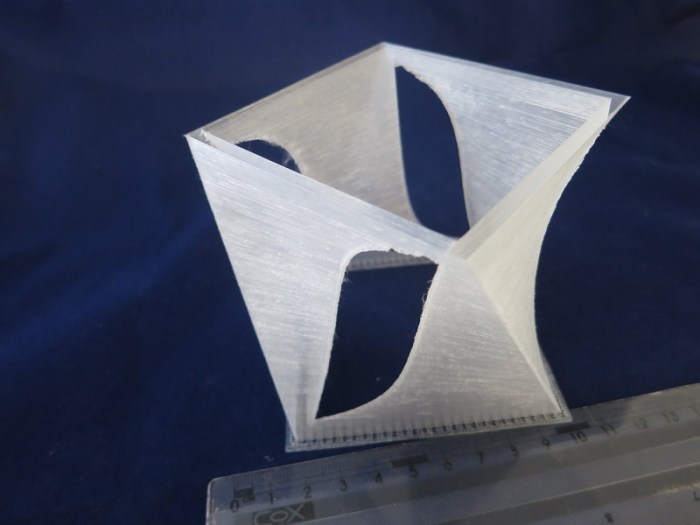
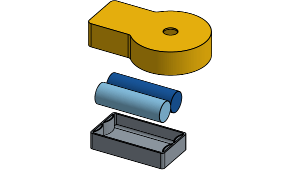
 And now for something with aesthetics as its primary function: A duck light. I started with the battery-powered LED lights imitating little tea light candles. These lights are widely available at very low cost from discount stores and dollar stores. My local 99-cent store sold a pair of lights for 99 cents.
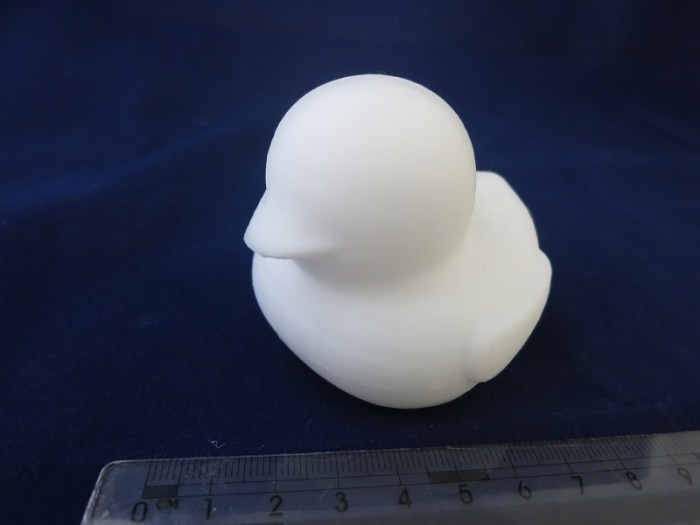
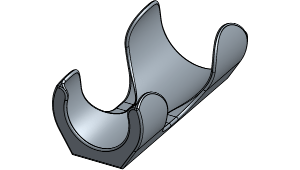 The next problem to solve in the kitchen are a pair of oil bottles – sesame oil and chili oil. Conveniently, they are from the same company so they have the same sized bottles. Inconveniently, they stand taller than other items in the kitchen cabinet, blocking views to the back and easily topple over as I reach for nearby items.
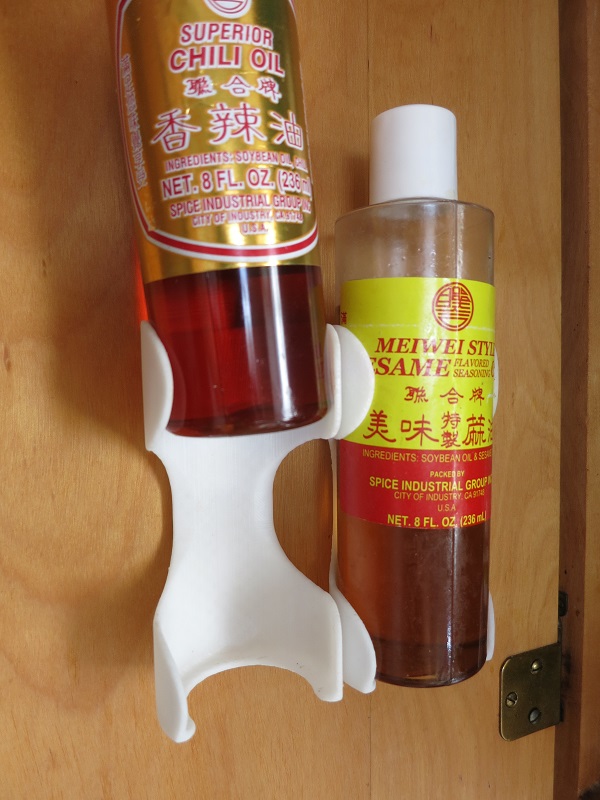
 After being duly humbled by the complexity of the planetary gears project, I decided to back off a bit and tackle something simpler. While cooking in the kitchen, inspiration struck as I poked around in the cabinets looking for the condiments I wanted: let’s organize this thing.
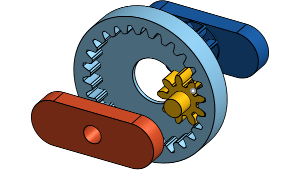 After getting the 3D printer settings dialed in, successfully printing small test objects, I decided to tackle a real project. Move beyond printing static shapes and make a multi-part machine.
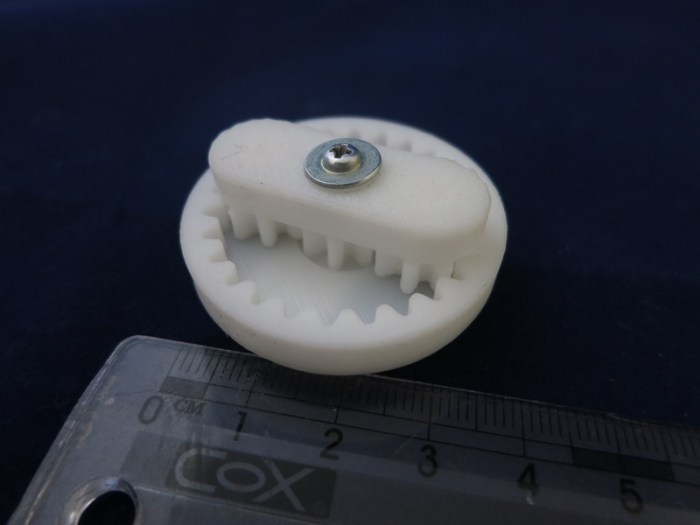
 The current state of the art in consumer home 2D laser printer is that I can expect perfect prints immediately. Take it out of the box, load paper, load toner cartridge, hit print, and out pops a crisp printout.
 A critical part of a 3D printing workflow is the slicer software. It translates the theoretical mathematical representation of the
  And now for something completely different… I got a 3D printer! I’ve been keeping an eye on the field for years, and I knew it was only a matter of time before the price point drops to a point where I can no longer resist.