And now, back to the portable external monitor (PEM) project. Version 2 has been in use for several weeks, called into duty when I needed a screen. It was used to help me install and smoke test ROS on a Raspberry Pi 3. It was also used for the FreeNAS box, which was ideal because FreeNAS only needs a screen briefly for setup.
Functionally speaking the portable external monitor has been working well. But the physical form factor left room for improvement: it wasn’t as portable as I would like.
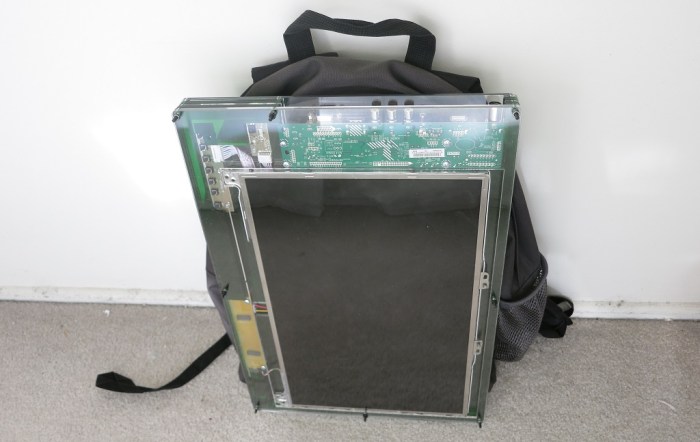
The first part of the problem is weight: PEMv2 was built by stacking sheets of acrylic that had holes cut out to make room for components. There’s no fundamental reason why this subtractive construction technique had to be heavy. But in practice, holes were cut only when needed to make room. The result is a lot of excess acrylic. Acrylic is not super heavy, but it all adds up to just over 8 pounds which is ridiculously overweight for a 15″ screen.
The second part of the problem is size: PEMv2 was intended to fit within the width and height of my JanSport backpack. When assembled, I had a facepalm moment: it does not actually fit into the backpack because PEMv2 is rectangular and the backpack is not. The top of the backpack is rounded, with no room for PEMv2 top corners.
Lastly: while PEMv2 was thick enough to stand upright on its edge, it is easily tipped over and the upright vertical screen angle is not very ergonomic. We can definitely do better.
PEMv3 will try to address all of the above issues. To minimize physical volume, we’ll need a more compact way to package all the components. We’ll need to build our enclosure using less acrylic to further reduce weight. And we’d like to have an integrated stand that can securely prop up the screen at a better viewing angle
