I now have an assembly of circuit boards that has all the electronics I needed to create a wired controller for Sawppy the Rover. Now I need an enclosure to make it easy to hold, protecting both my skin against punctures by header pins and also protecting the soldered wires from damage.
The first task is to measure dimensions and iterate through design of how I would hold the assembly using 3D printed plastic. It evolved into two separate pieces that mate up with left and right sides of my prototype circuit board.
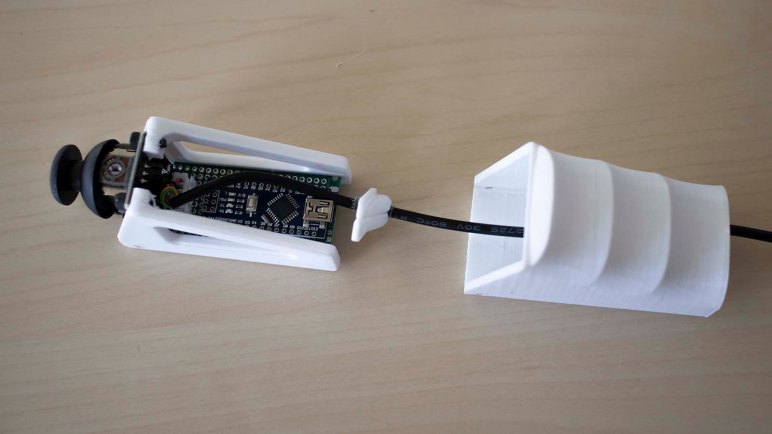
The next step is to design and print two small parts to hold on to the wire. The idea is to have it take some stress so tugs on the wire do not rip my 4-pin JST-XH connector from my circuit board. And finally, an exterior shell to wrap all of the components.

The exterior shell was an opportunity to play with creating smooth comfortable hand-conforming organic shapes. Designing this in Onshape was a bit of an square peg in round hole situation: standard engineering CAD is tailored for precision and accuracy, not designing organic shapes. That’s the domain of 3D sculpting tools, but I made do with what I had available in Onshape.
Given a bit more time I could probably incorporate all the design lessons into a single 3D printed piece instead of five separate pieces, but time is short and this will suffice for Maker Faire Bay Area 2019. The dimensions are fairly specific to the components I used for this project, but if anyone wants to use it as a starting point here is the Onshape public CAD document.
Now that I have one end of my wired serial communication cable, it’s time to look at the other end.

