This week my 3D printer stopped working mid-print. All motor movement, heating activity, and cooling fans stopped simultaneously. However, the control panel is still responsive and so is the LED light strip. Time to hit the web and see what I can find.
My printer is a Monoprice Maker Ultimate, which is a rebranded Wanhao Duplicator 6. Which is in turn a knock-off of the Ultimaker design, though not a literal clone of any specific Ultimaker model.
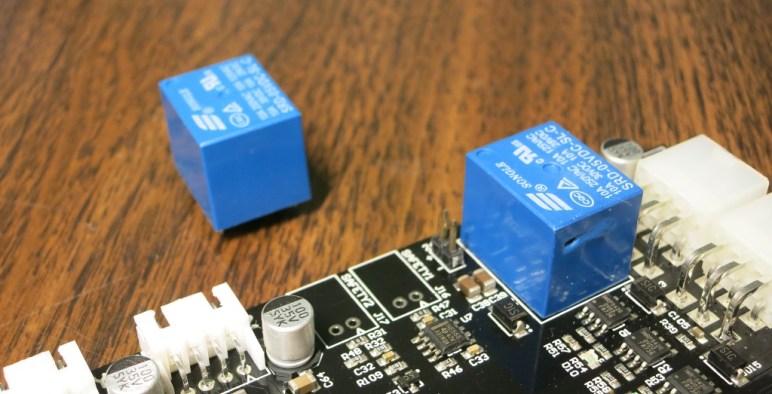
A web search of my symptoms found a known point of failure with this product: the main 24V relay. The popular explanation is that Wanhao cloned somebody else’s circuit board, removed the features that would use the relay, and used a cheap relay that’s always on. So the recommended workaround is to solder a wire to bridge the legs of the relay and bypass it. “It doesn’t do anything anyway.”
I was skeptical of this explanation because if Wanhao is really just cutting costs, they would skip the relay entirely: no relay is cheaper than any relay! There must be more to this story.
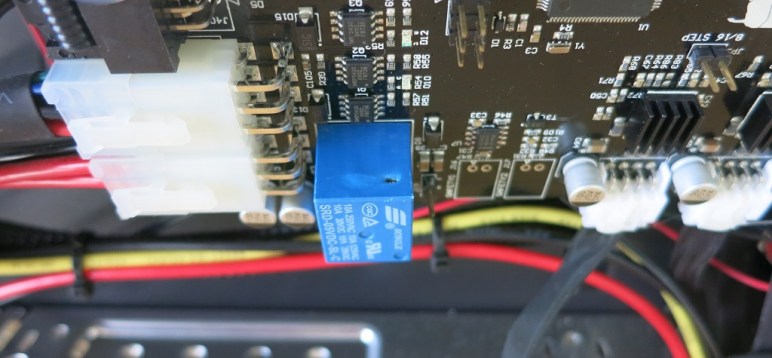
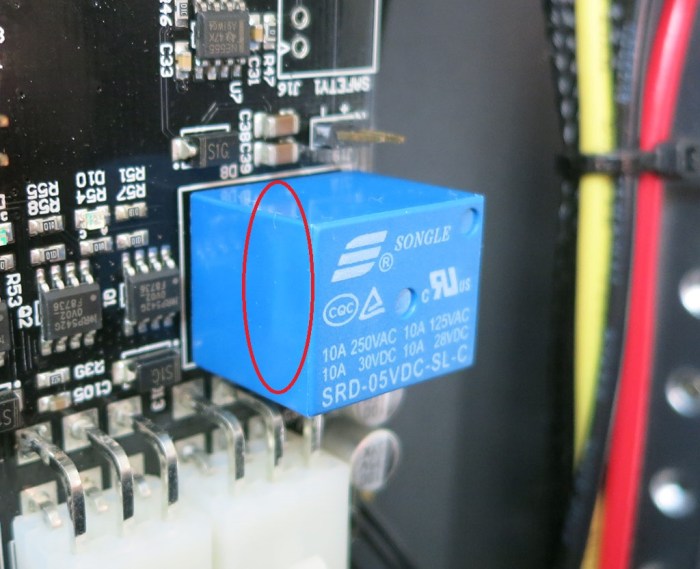
But first, a check to see if the relay is indeed the fault. A quick visual inspection confirmed that there’s a problem with my relay, indicated by the melted hole in the side. For additional confirmation, we temporarily bridged the pins as recommended by forum posters. When done with the power on, it brought the always-on heat break and circuit board cooling fans immediately to life. Relay failure confirmed.
What does the relay do?
Turning off this relay cuts power to all 24V components: Motors, fans, and heaters. In normal operation, there’s no situation where the 5V components (micro-controller, display, LED strip) are running without the 24V components, so the answer must be related to abnormal operation. Our best hypothesis: this relay is a safety switch in place to halt the system if the 5V subsystem should fail. If that happens, it makes sense we’d want to shut down all the 24V parts too. And now that we have a plausible description of the relay as a safety feature, bypassing it with a soldered wire seems like a bad idea.
Why did the relay fail?
This part was easier to figure out. When I ran my printer with my Kill-A-Watt meter, it indicated the power draw jumps by over 300 watts when both heaters are active. So even ignoring the cooling fans and motors, the print bed and filament heaters together draw over 12.5 amps from the 24V plane.
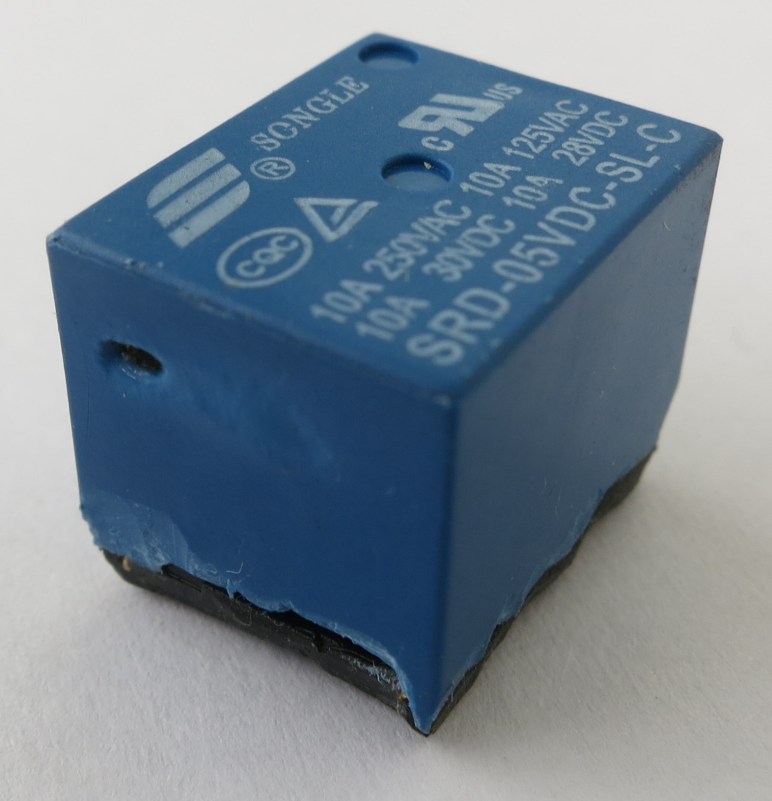
Typing in the designation on the relay “SRD-05VDC-SL-C” found its datasheet, which says the relay can handle 10 amps. So the printer was designed such that the relay exceeded its rated capacity anytime both heaters are active. Not exactly a great design. The relay tolerated this overworked condition for many months but this week it could take no more.
The correct solution, then, would be to replace this relay with a higher-rated unit that can handle 15+ amps continuously. (12.5 for heaters + motors and fans + margin.) Unfortunately relays are not standardized in their footprint so I failed to find a drop-in higher-capacity replacement. (I found the Omron G5LE series with the same footprint, but with the same 10A maximum for DC so I’d be no better off.) Hooking up a beefier relay to the circuit board via wires is a possibility but intimidating. 300 watts of electricity is very good at finding minor flaws and turning them into big problems.
What do we do?
To summarize, the candidate solutions are:
- Bypass the relay with a wire as per internet forums: Seems like a bad idea to bypass a potential safety feature.
- Install an exact replacement: Known to work until it doesn’t.
- Install a higher-rated drop-in replacement: Great idea but such a replacement could not be found.
- Install a higher-rated unit elsewhere in the box, connect to the circuit board via wires: Adds many points of potential failure and >300W of power is unforgiving of flaws.
I’d love #3 but I couldn’t find a beefier relay with identical footprint. #1 and #4 are asking for trouble. For the immediate future, I choose #2 as the least-bad solution.
UPDATE 1: After the original relay was replaced with an identical unit, I cut open the original relay to see inside the failure.
UPDATE 2: As expected, the identical unit eventually failed in an identical way.

 Looking at the inside of the just-removed case, we can see a lot of heat damage. Black char marks the hottest areas, and discolored white marked the rest.
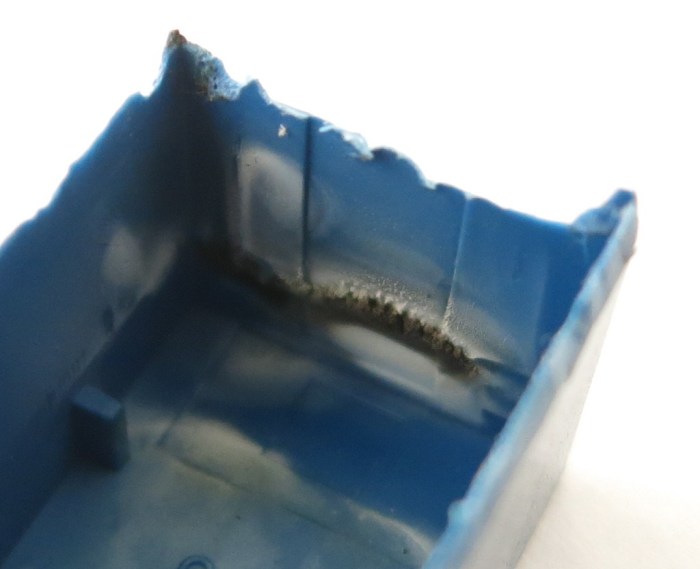 It’s a fairly straightforward relay, with the coil actuating an armature moving between contacts on either the plate above or below it. The armature+contact area is immediately behind the blacked charred bits of the case. And looking at the armature and contacts themselves, we see the relay died an unhappy death.
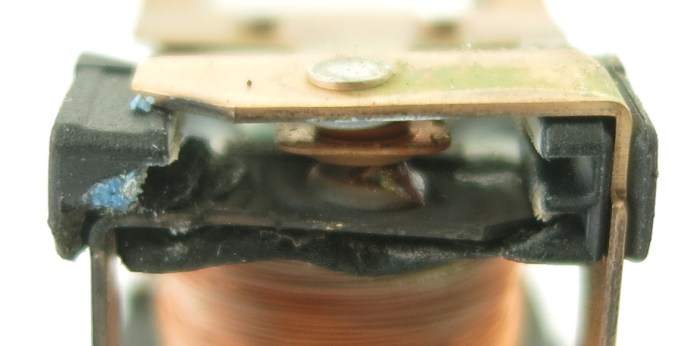 Everything in the contact area is distorted and/or charred. There is a black plastic-feeling piece holding everything in position relative to each other, and it could no longer do its job with heat distorting it and moved things out of alignment. Between the armature and the bottom contact is a blob of melted something that looks vaguely like solder. The bits of blue visible are parts of the blue casing that has melted onto this assembly. While the top contact looks OK in this picture, the side facing the armature is just as blackened and charred as the visible face of the bottom contact. The armature itself is barely visible here but it is actually discolored and distorted near the contacts.