
My LED helix core has been tested and working, but it needs additional pieces top and bottom for a fully self-contained package. I expect that eventually I’ll pack the interior of my cylinder with batteries, but for now it just needs to hold the USB power bank I’ve been using.
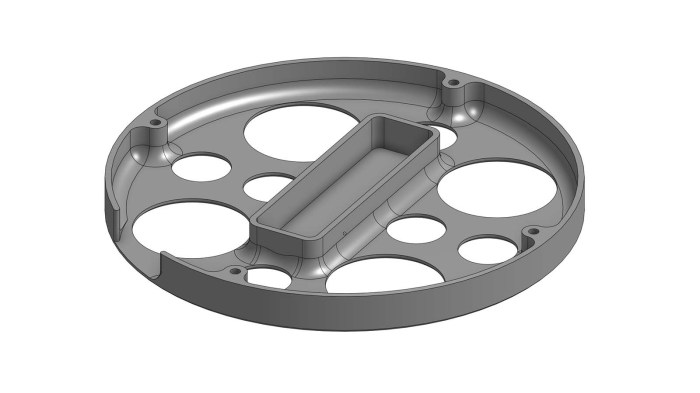
The footprint for that power bank defined the center of my bottom piece, surrounded by four mounting screws to fasten this end piece to my just-completed core. A slot was cut in the side for me to tuck in the bottom end of the LED strip. Since this project is still developing, I expect to need to reach inside to fix things from time to time, so I cut a bunch of big holes to allow access, ventilation, and it’ll also print faster than a solid bottom plate.
![]()
My cylinder’s top piece is designed to meet slightly different objectives. It shares the four mounting points, the outer diameter, and a slot for me to tuck in the top end of my LED strip. There were a few extra holes cut in the top, in case I needed an anchor point for zip-ties to hold down wires. I also added two segments curving towards the center to function as rudimentary handles for transporting this assembly. The final feature are two horizontal holes which will house M2.5 standoffs to mechanically mount the Pixelblaze board.
![]()
Unfortunately there was a miscalculation and the top piece ran out of filament during printing, ending up shorter than I had planned for it to be. Rather than throw away the failed print, I decided it was close enough for use. I just had to drill my two holes for Pixelblaze mounting standoffs a little higher than planned, and now a few components poked above the enclosure by a few millimeters, but it’s good enough for completing the mechanical portion to support Pixelblaze experimentation.
Next step: configure Pixel Mapper to correspond to this LED helix geometry.
